Write your extension (Beta)
Currently extension type that is supported is theme extension. Stay tuned for other extensions!
Get started
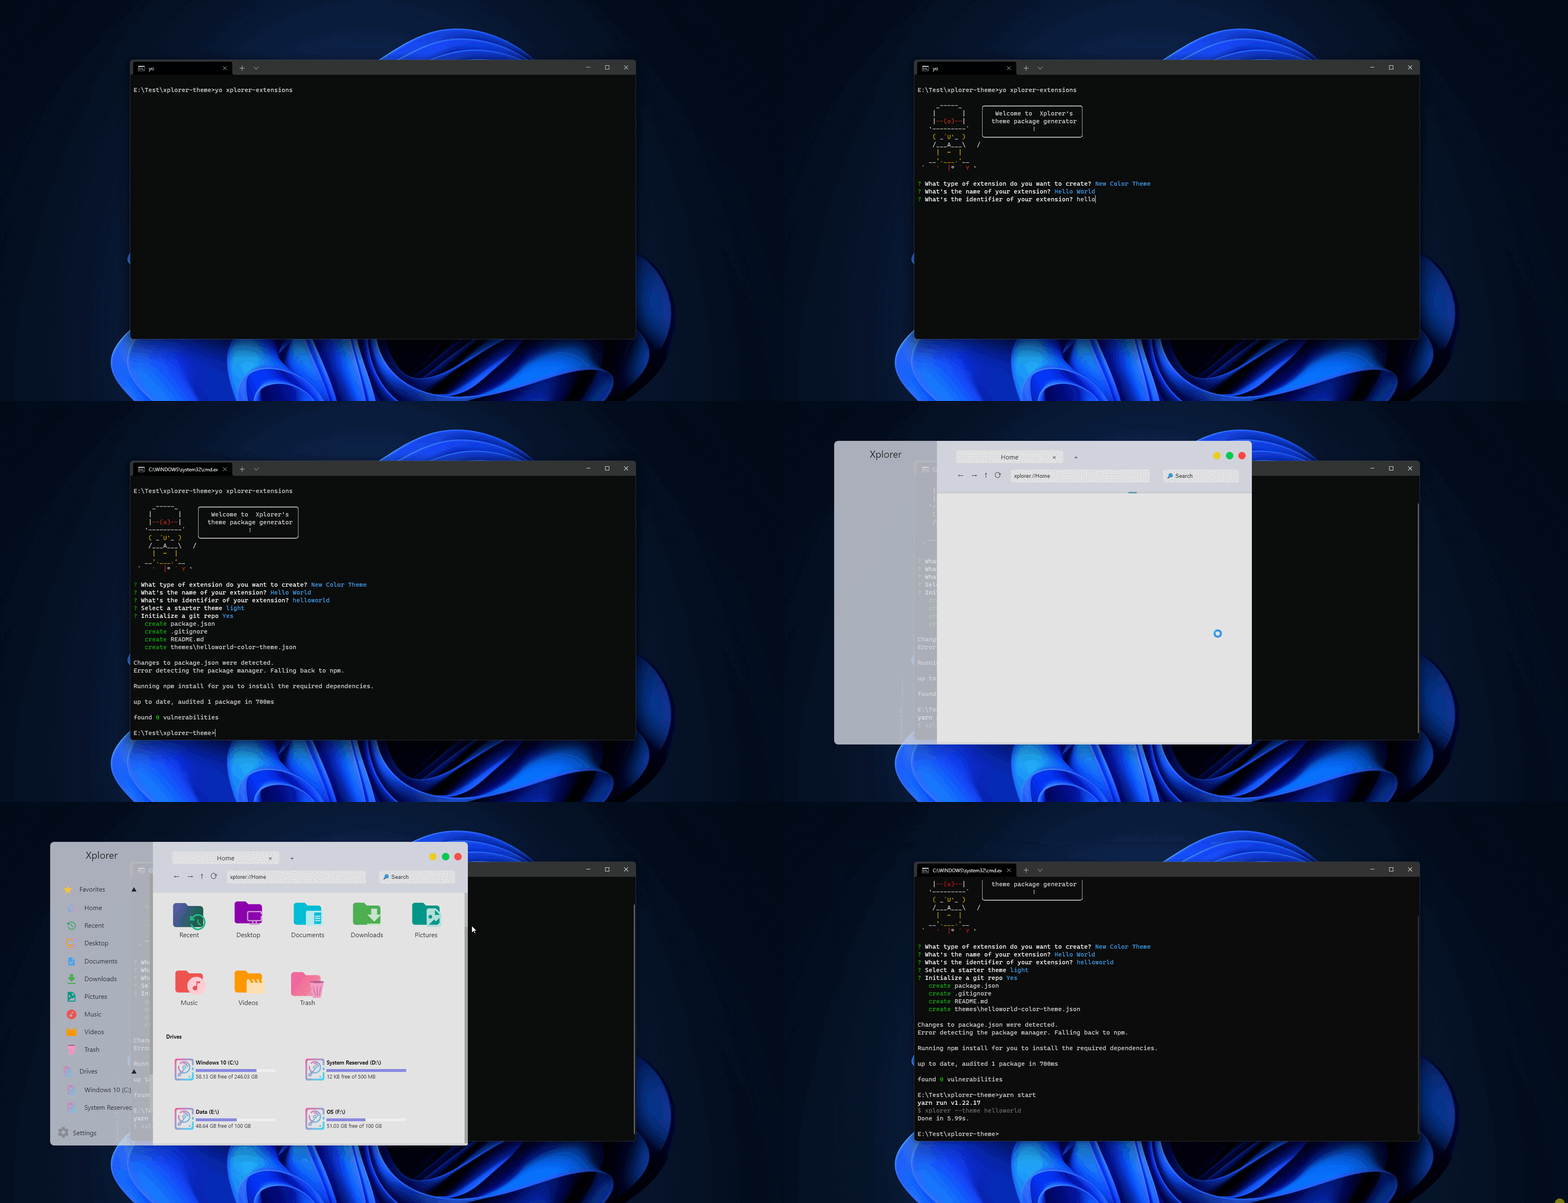
In this topic, we'll teach you how to create your first extension for Xplorer. To get started, make sure you have Node.js installed, then install yeoman and Xplorer Extension Generator by running following command:
npm i -g yo generator-xplorer-extensions
The generator scaffolds a new extension project ready for development. Run the generator and fill out a few fields to get started.
yo xplorer-extensions

Start the development process
You can start the development process by running the following command:
npm start
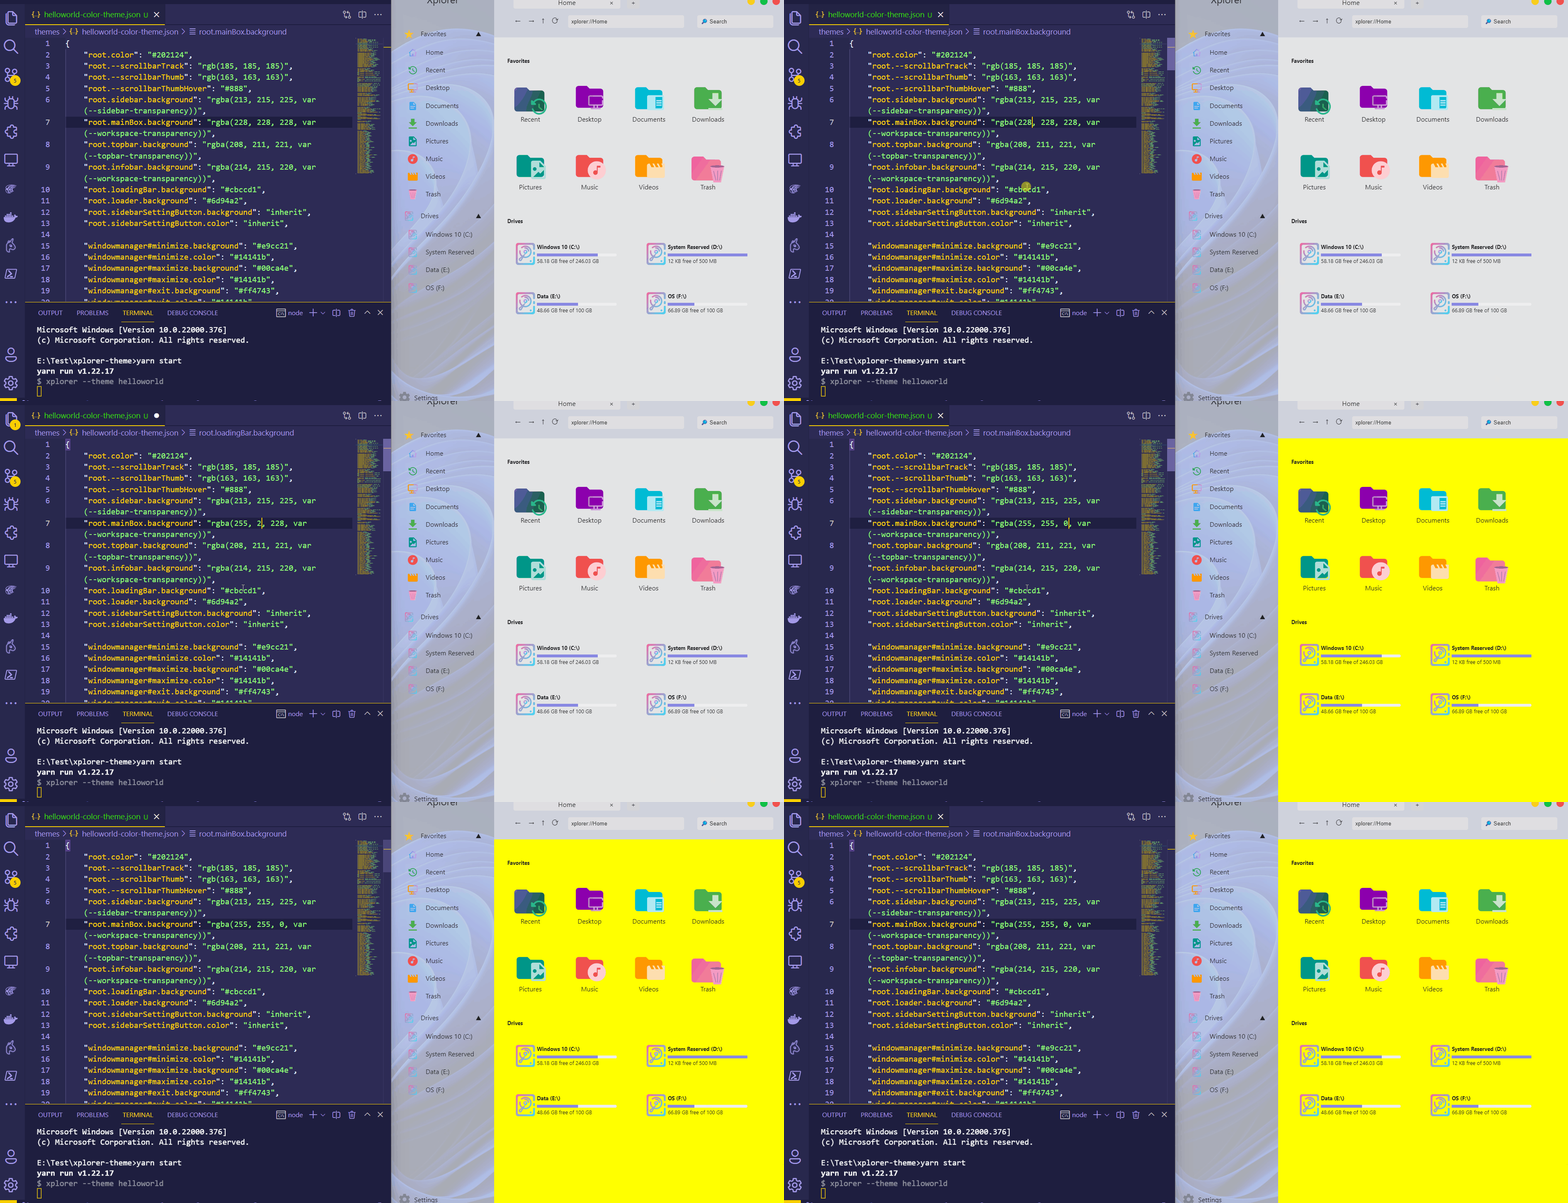
You can start edit the extension file and see the changes in Xplorer, it's hot reloaded!

Theme
Your generated theme extension file is under ./themes folder and is a JSON file. The syntax for the theme file is as follows:
"<scope><element query><CSS key>": "<CSS value>"
Scopes are: root, windowmanager, tabs, settings, favorites, favorites, grid, contextmenu, prompt, preview and properties. Scopes are used to group the theme.
Element query: basically just like what a CSS query does.
CSS Key is the name of the CSS property you want to change. Please note that snakeCase will be converted into snake-case.
There're some CSS variables provided to the theme value that you can make use of are:
--sidebar-transparency, the transparency of the sidebar, in percentage--workspace-transparency, the transparency of the workspace, in percentage--topbar-transparency, the transparency of the topbar, in percentage
Examples
Examples of theme extensions are found in the example/themes on GitHub repository.
Packaging your extension
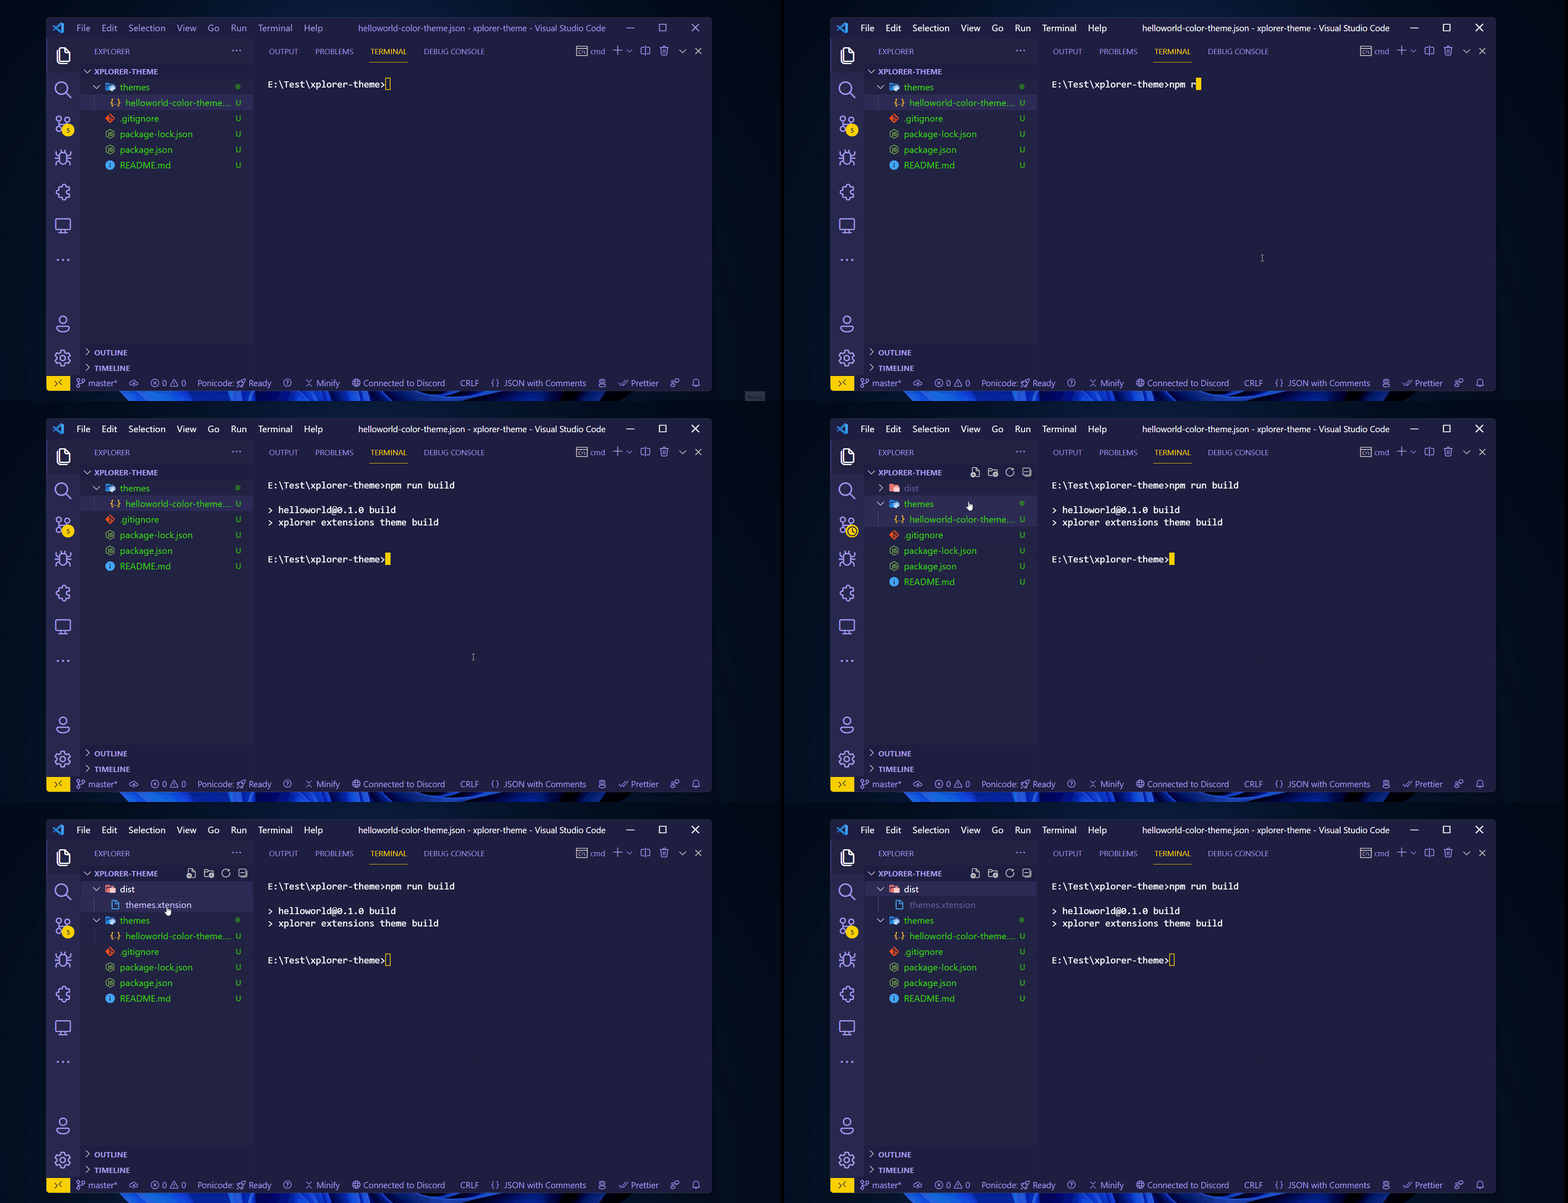
When you're ready to package your extension, you can run the following command:
npm run build
This command will package and build your extensions into Xplorer reserved .xtension file format.

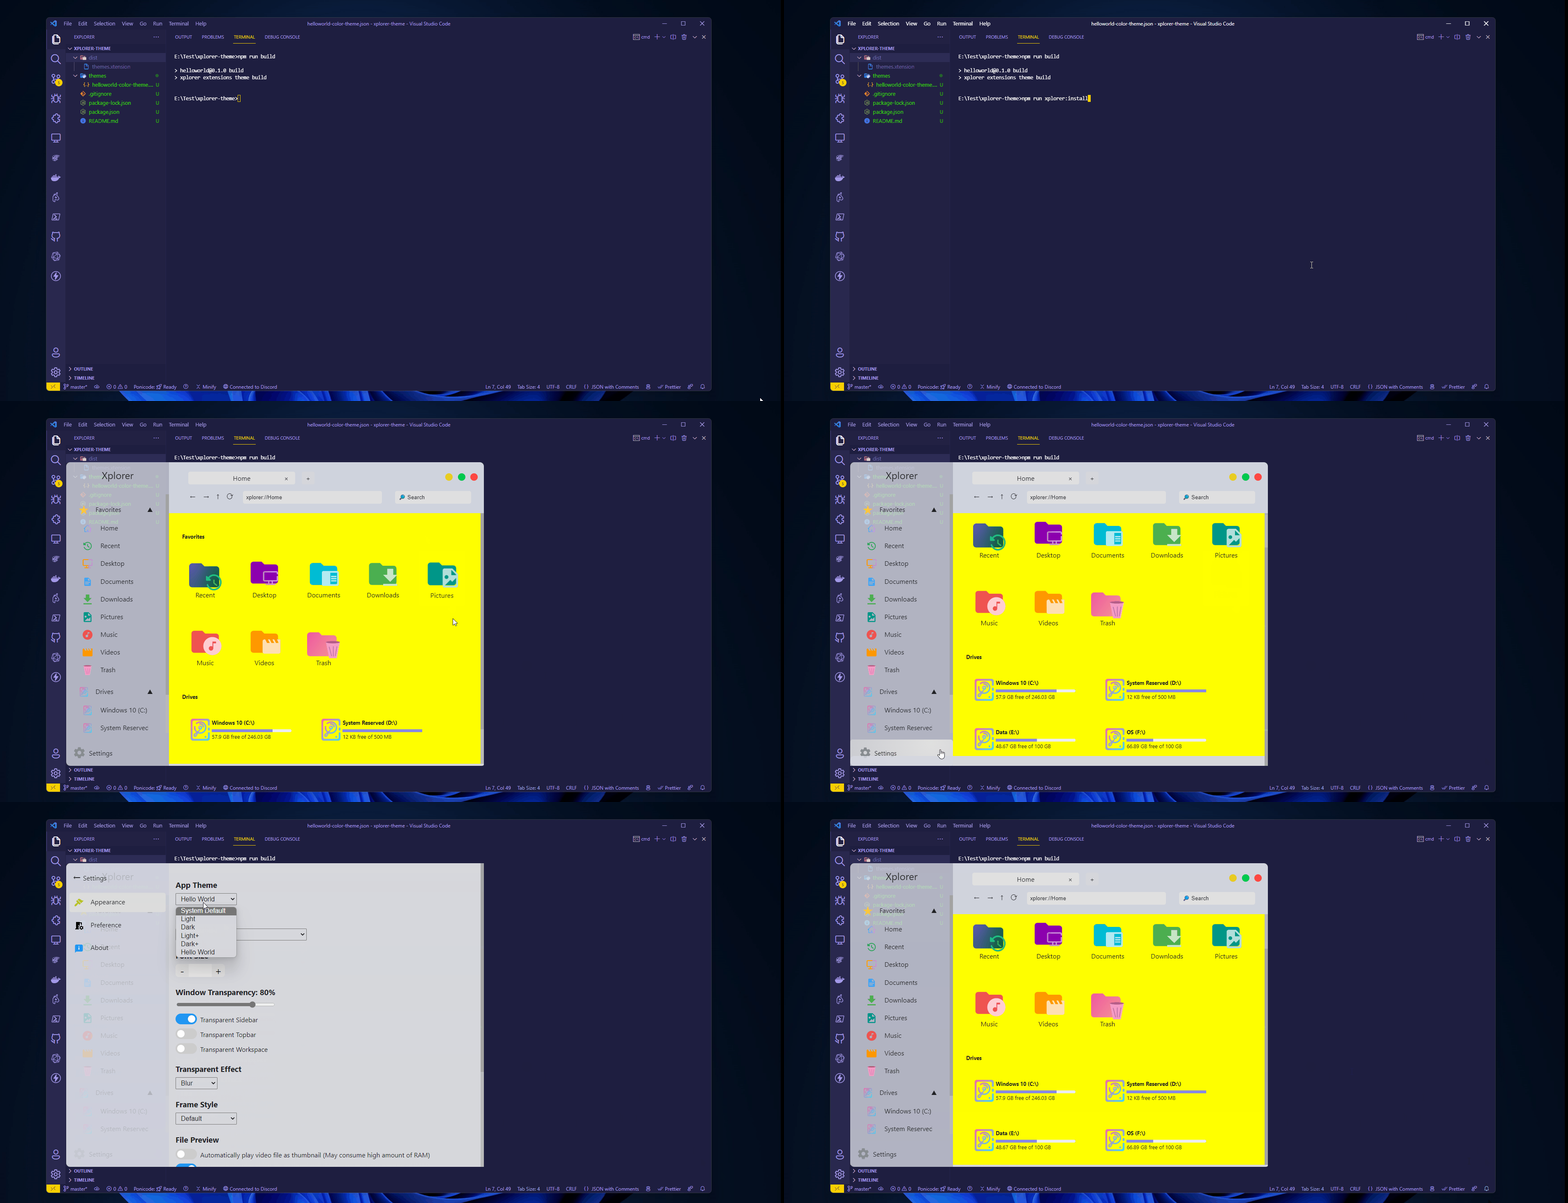
Install the packaged extension
npm run xplorer:install
